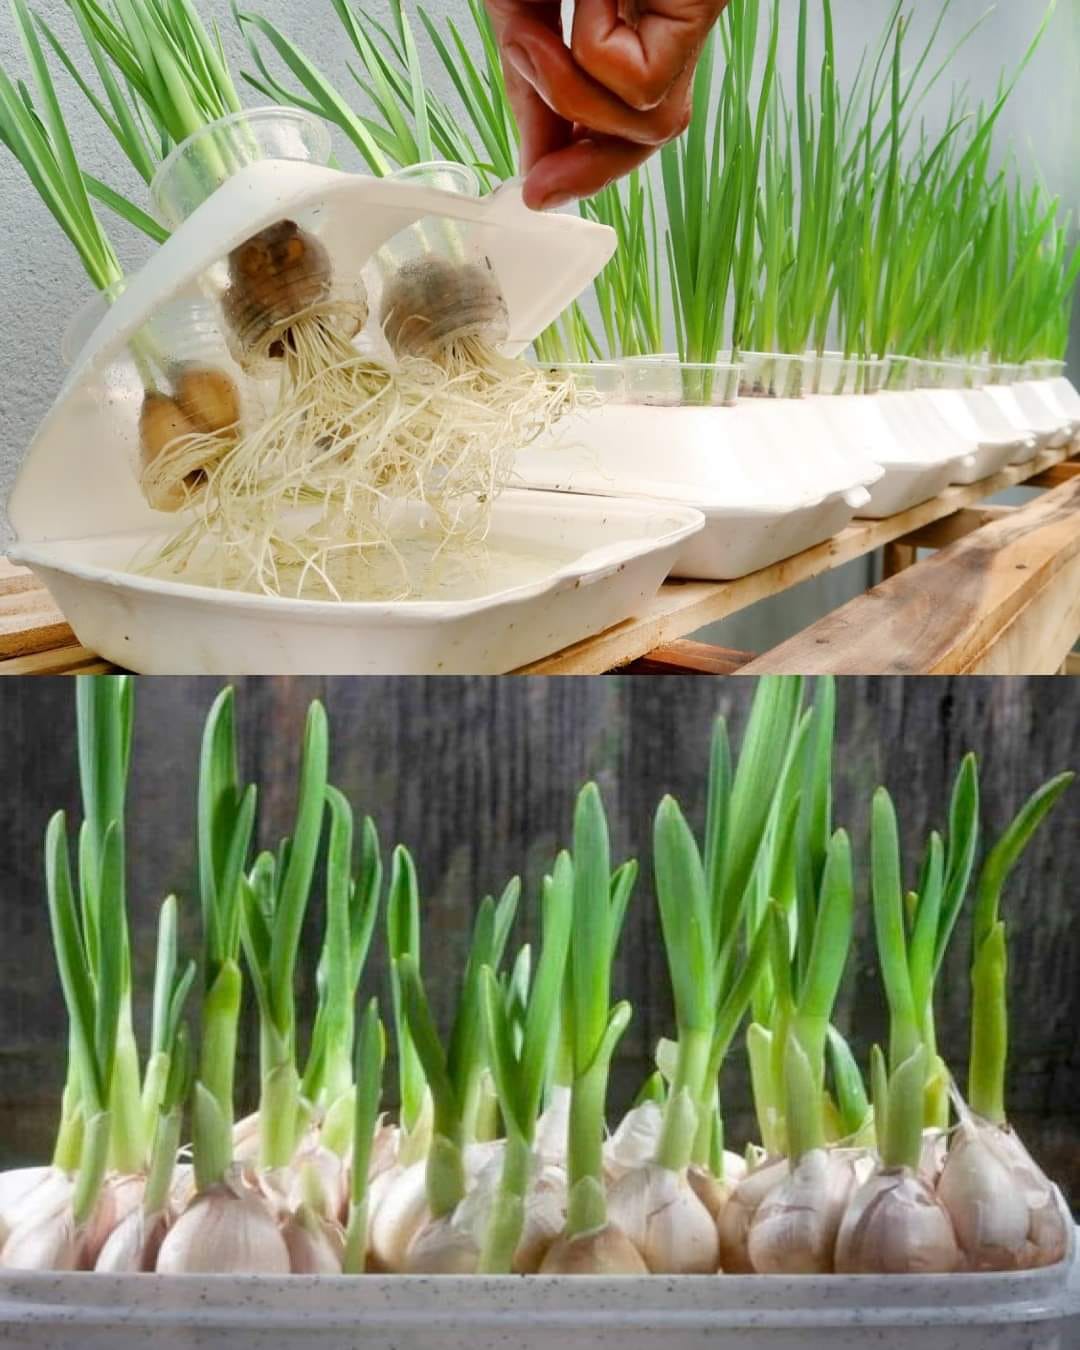
Stop Buying Garlic! Learn How to Grow Your Own at Home Effortlessly 🌱🧄
Growing garlic at home is easier than you think, and it’s perfect for small spaces, even in urban settings. By combining innovative gardening techniques with sustainable practices, you can enjoy homegrown garlic that’s fresher and healthier than store-bought. Here’s how to do it using a simple plastic bottle and a few basic materials.
Why Grow Garlic at Home?
- Health Benefits: Garlic is packed with antioxidants and medicinal properties.
- Cost Savings: A single bulb can yield multiple cloves for planting and harvesting.
- Sustainability: This method incorporates recycling, reducing waste, and promoting eco-friendly gardening.
City Farming with Garlic: Plastic Bottle Method:
What You’ll Need:
- A clear plastic bottle (2-liter size works best).
- Fresh garlic bulbs (avoid dried-out or sprouting ones).
- Chlorine-free water.
- Scissors or a craft knife.
- Optional: Soil and a pot for transplanting.
Essential Steps to Grow Garlic:
1. Preparation:
- Clean the Bottle: Wash the plastic bottle thoroughly to remove any residue.
- Cut the Bottle: Cut off the top to create an open container, leaving enough depth to hold water and garlic cloves.
- Choose Quality Garlic: Pick fresh, plump garlic bulbs. Separate them into individual cloves but don’t remove the papery skin.
2. Planting in the Bottle:
- Position the Cloves:
- Place garlic cloves with the pointed side facing upward.
- Ensure the cloves are not fully submerged but just the bottom touches the water.
- Add Water: Fill the bottle with chlorine-free water, just enough to cover the base of the cloves.
3. Sunlight and Maintenance:
- Sunlight: Place the bottle in a sunny spot, such as a windowsill. Garlic requires at least 6–8 hours of sunlight daily.
- Refresh Water: Change the water every 2–3 days to prevent stagnation and promote healthy growth.
4. Transplanting the Sprouts:
- When to Transplant: Once green shoots appear (usually within 7–10 days) and roots have grown about 2 inches, they’re ready for soil.
- Prepare Nutrient-Rich Soil: Use well-draining soil enriched with compost for optimal growth.
- Plant in Pots or Garden: Transplant the garlic sprouts into a pot or directly into your garden bed. Ensure the pointed side faces upward and the cloves are buried about 2 inches deep.
Results and Benefits:
1. Quick Growth:
- Garlic typically begins sprouting within a week in water. Once transplanted to soil, you can expect full bulbs to mature in 6–8 months.
2. Year-Round Harvest:
- Garlic is a versatile crop that can be grown indoors or outdoors, making it perfect for year-round cultivation.
3. Sustainable Gardening:
- Repurposing plastic bottles reduces waste while showcasing the power of urban gardening.
Tips for Success:
- Don’t Overwater: If transplanted into soil, water only when the top layer feels dry. Overwatering can cause rot.
- Use Organic Garlic: Some store-bought garlic is treated with chemicals to inhibit sprouting. Opt for organic bulbs for best results.
- Mulch for Protection: If growing outdoors, use mulch to regulate soil temperature and retain moisture.
Why Choose This Method?
- Ideal for small spaces or apartment living.
- Requires minimal effort and resources.
- Encourages recycling and promotes a sustainable lifestyle.
With this simple and innovative method, you can stop buying garlic and enjoy your own fresh, homegrown supply. 🌱🧄 Start today and join the urban farming revolution!
💬 Have you tried growing garlic at home? Share your tips and experiences below!
#GrowGarlicAtHome #SustainableGardening #UrbanFarming #DIYGardening
