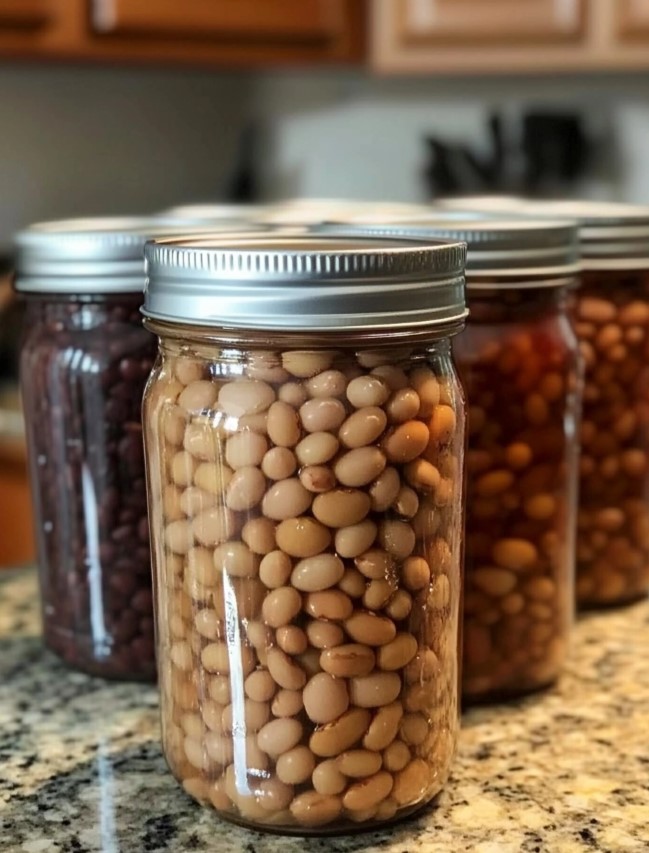
Homemade Canned Beans: A Pantry Staple Made Fresh:
Introduction:
Canning beans at home is an economical and convenient way to have perfectly cooked legumes ready for use in soups, stews, salads, and more. With simple ingredients and proper pressure canning, you can stock your pantry with nutritious and delicious beans that are free from unnecessary preservatives.
Ingredients:
- 2 pounds dried beans (black beans, pinto beans, kidney beans, navy beans, or chickpeas)
- Water
- 1 teaspoon salt per quart jar (optional, for flavor)
Equipment:
- Pressure canner
- Quart or pint canning jars with lids and rings
- Large pot for soaking and boiling beans
- Funnel, ladle, and jar lifter
Preparation Tips:
- Choose Quality Beans: Inspect dried beans for stones or debris before starting.
- Soak Beans Overnight: Soaking beans reduces cooking time and improves texture.
- Salt for Flavor: Adding salt to the jars is optional but enhances the flavor.
- Sterilize Jars: Wash jars thoroughly and keep warm until ready to use.
- Use Pressure Canning: Beans are a low-acid food and require pressure canning for safety.
Instructions:
Step 1: Prepare the Beans
- Rinse beans under cold water and sort out any debris.
- Soak beans overnight in a large pot of water, ensuring they are covered by at least 2 inches. Alternatively, use a quick soak method: boil beans for 2 minutes, then let them sit for 1 hour.
Step 2: Pre-Cook the Beans
- Drain the soaked beans and rinse.
- Place beans in a large pot, cover with fresh water, and bring to a boil. Simmer for 30 minutes.
Step 3: Prepare the Jars
- Sterilize jars and keep them warm.
- Prepare the pressure canner according to the manufacturer’s instructions.
Step 4: Fill the Jars
- Using a ladle and funnel, fill each jar with partially cooked beans, leaving 1 inch of headspace.
- Add hot cooking liquid or boiling water to cover the beans, maintaining the 1-inch headspace.
- Add 1 teaspoon of salt per quart jar, if desired.
Step 5: Seal the Jars
- Wipe the rims of the jars with a clean, damp cloth.
- Place the lids on top and secure with rings, tightening just until finger-tight.
Step 6: Pressure Can the Beans
- Place jars in the pressure canner, ensuring they are not touching.
- Follow the canner manufacturer’s instructions for adding water and securing the lid.
- Process at 10 pounds of pressure for the following times (adjust for altitude):
- 90 minutes for quart jars
- 75 minutes for pint jars
Step 7: Cool and Store
- Once processing is complete, turn off the heat and allow the pressure canner to cool naturally.
- Carefully remove the jars using a jar lifter and place them on a clean towel. Let them cool for 12-24 hours.
- Check the seals by pressing the center of each lid. If the lid doesn’t pop back, the jar is sealed. Store in a cool, dark place for up to 1 year.
Description:
Homemade canned beans are tender, flavorful, and incredibly versatile. Whether added to chili, soups, or salads, these beans save time and bring homemade quality to your cooking.
Nutritional Information (Per 1/2 Cup Serving):
- Calories: 100
- Protein: 7g
- Fat: 0g
- Carbohydrates: 20g
- Fiber: 6g
- Sodium: 200mg (if salt is added)
Recommendations:
- Add Aromatics: Include garlic cloves, onion slices, or bay leaves in the jar for extra flavor.
- Multi-Bean Mix: Combine different beans in the same jar for variety.
- Refrigerate Unsealed Jars: If a jar doesn’t seal, store it in the fridge and consume within 5 days.
- Use in Recipes: Replace store-bought canned beans in recipes like soups, burritos, or salads.
- Make in Bulk: Can large batches to have beans ready whenever you need them.
Conclusion:
Canning your own beans is a rewarding way to save time and money while creating healthier, preservative-free pantry staples. With this easy method, you can enjoy perfectly cooked beans ready for your next meal or recipe. Give it a try and enjoy the satisfaction of homemade convenience!
