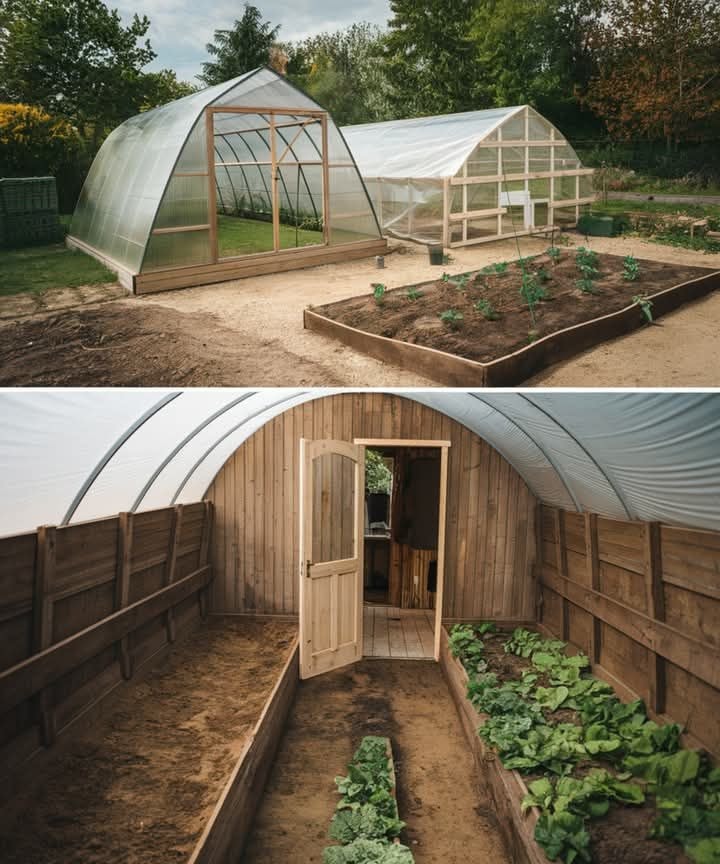
How to Build a Walipini Greenhouse for Year-Round Food Cultivation 🌱🌞
A Walipini greenhouse — also known as an underground or pit greenhouse — is a smart, sustainable way to grow food all year long, even in cold or harsh climates. The word Walipini means “place of warmth” in Aymara, and that’s exactly what it creates: a natural, low-cost structure that traps heat and protects plants from frost, wind, and temperature fluctuations. Here’s a simplified step-by-step guide to help you build your own Walipini greenhouse and enjoy fresh vegetables year-round.
1. Choose the Perfect Location
Pick a sunny spot, preferably facing north-south (in the Northern Hemisphere) to capture maximum sunlight during the day. The area should have good drainage and be away from large trees or water runoff.
2. Measure and Mark the Area
Decide on the size of your greenhouse. A common size for home gardens is 6–10 meters long, 3–4 meters wide, and 1.5–2 meters deep. Use wooden stakes and string to mark the outline on the ground.
3. Start Digging the Pit
Dig a rectangular pit to your chosen depth (about 6 feet is ideal in colder regions). The deeper the pit, the better the insulation. Save the removed soil — you’ll need it for backfilling later. The north wall should be higher than the south wall to allow sunlight to enter at an angle.
4. Build the Retaining Walls
Line the walls with wooden planks, concrete blocks, or natural stones to prevent soil from collapsing. Make sure they’re strong and stable. For added insulation, you can fill gaps between the walls and the earth with straw or sawdust.
5. Create a Drainage System
At the base of your pit, add a layer of gravel or coarse sand for proper drainage. You can also dig a small trench leading out of the greenhouse to divert excess rainwater.
6. Construct the Roof Frame
Use wood or metal to create a sturdy frame for the roof. The roof should be transparent or semi-transparent to let sunlight in — materials like greenhouse plastic, polycarbonate panels, or even recycled glass work perfectly. The roof should slope toward the south at a 30–40° angle for optimal sunlight absorption.
7. Add a Door and Ventilation
Install a wooden door on the north side and small adjustable vents or windows for airflow. Good ventilation prevents humidity buildup and keeps your plants healthy.
8. Prepare the Planting Beds
Inside the Walipini, form raised beds with compost-rich soil. These beds will warm faster and provide better drainage. You can plant vegetables like lettuce, kale, spinach, carrots, herbs, and even tomatoes — all year long!
9. Maintain Temperature and Moisture
The earth naturally regulates temperature inside the Walipini, keeping it around 10–20°C (50–68°F) even in winter. Water the plants regularly, use mulch to retain moisture, and monitor humidity with a simple hygrometer.
10. Optional Additions
- Add rainwater collection barrels for sustainable watering.
- Use thermal mass objects like stones or water containers to store heat during the day and release it at night.
- Include solar-powered LED lights for extra growth support during shorter winter days.
Conclusion
Building a Walipini greenhouse is one of the most effective and eco-friendly ways to achieve food self-sufficiency. It uses the natural insulation of the earth to grow fresh vegetables, herbs, and fruits all year long — even in freezing temperatures. With minimal materials and a bit of effort, you can turn any backyard into a thriving underground garden that provides warmth, life, and nourishment through every season. 🌿🥕🌞
