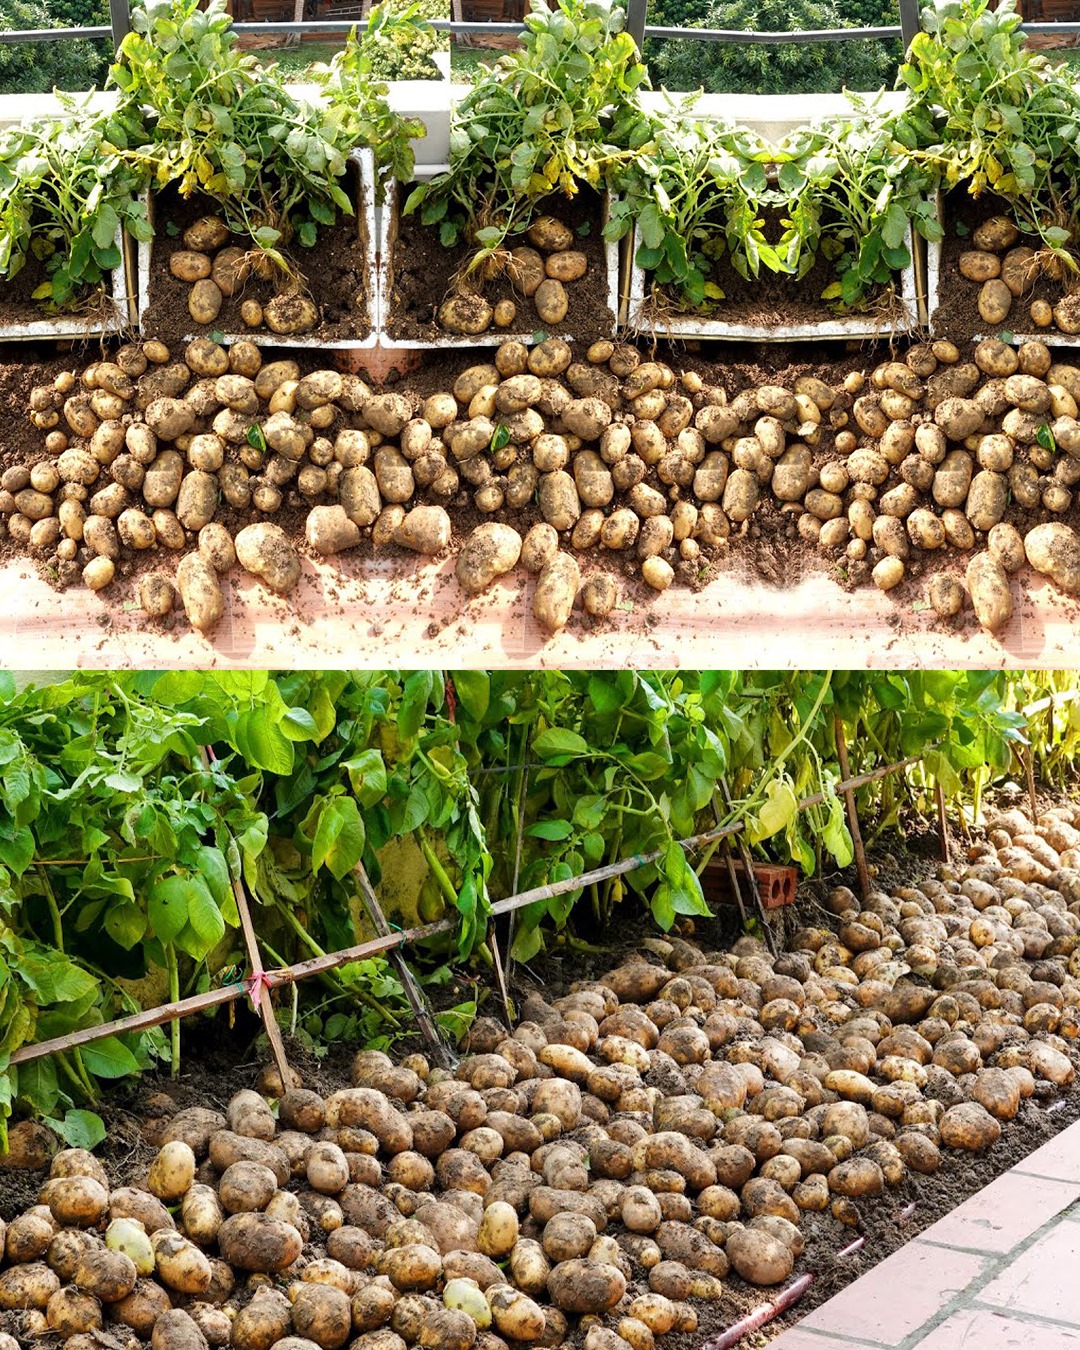
Growing Potatoes at Home in Containers: A Step-by-Step Guide:
Growing potatoes in containers is an excellent way to enjoy homegrown potatoes, especially if you have limited space or no garden. It’s a simple, space-saving method that allows you to produce a great yield with minimal effort. Here’s a complete guide on how to grow potatoes at home in containers, whether you’re a beginner or a seasoned gardener.
1. Choose the Right Container:
To start growing potatoes, you’ll need a suitable container. Large containers work best since potatoes need space to grow. The ideal size is at least 12-18 inches deep and 18 inches in diameter. You can use:
- Large plastic containers or buckets with drainage holes
- Grow bags specifically designed for potatoes
- Wooden boxes or old barrels if they have adequate drainage
Make sure the container has proper drainage to avoid waterlogging, which can lead to rot.
2. Select the Right Potato Variety:
There are many potato varieties, and some grow better in containers than others. Choose early or mid-season varieties, which are ideal for container growing. Some good options include:
- Yukon Gold: A versatile all-purpose potato with golden skin and yellow flesh.
- Red Pontiac: A red-skinned variety that produces great yields in containers.
- Charlotte: A popular salad potato that grows well in confined spaces.
You can also grow seed potatoes, which are specifically meant for planting, rather than regular store-bought potatoes to avoid potential diseases.
3. Preparing the Potatoes:
To start, you’ll need to prepare your seed potatoes. The best way to do this is by chitting. Chitting means allowing the potatoes to sprout before planting:
- Place your seed potatoes in a cool, bright spot for about 2-4 weeks before planting.
- Let the eyes (buds) sprout and form small shoots. They should be about 1-2 inches long.
If your seed potatoes are large, you can cut them into pieces, each with at least one or two eyes, to create more plants. Let the cut pieces sit for a day or two to heal over before planting to prevent rotting.
4. Preparing the Soil:
Use well-draining, nutrient-rich soil to fill your container. A good mix would be potting soil with added organic matter like compost or manure. You want the soil to be loose, which will allow the potatoes to develop without obstruction.
You can also add some bone meal or slow-release fertilizer to ensure the plants get the right nutrients during their growth.
5. Planting the Potatoes:
- Fill your container with soil: Add about 4-6 inches of soil to the bottom of the container.
- Place your seed potatoes on top of the soil, ensuring that the sprouted eyes are facing up. Space them at least 6 inches apart.
- Cover the potatoes with another 4-6 inches of soil. Make sure the potatoes are well-covered to allow for good tuber development.
As the plants grow, you’ll need to hill up the soil, adding more soil around the plants to encourage more tuber growth.
6. Care and Maintenance:
Once your potatoes are planted, the key to successful growth is care and attention to detail:
- Watering: Potatoes need consistent moisture, especially when they start flowering. Keep the soil moist, but avoid making it soggy. Water deeply once a week rather than shallow watering.
- Fertilizing: Use a balanced fertilizer or organic compost throughout the growing season. Potatoes are heavy feeders, and providing them with adequate nutrients will help them grow bigger and healthier.
- Sunlight: Ensure the container is placed in a full sun location, as potatoes need at least 6 hours of sunlight per day to grow properly.
7. Adding More Soil: “Hilling”
As the potato plants grow, they will start to develop shoots and leaves. Hilling involves adding more soil around the base of the plant to encourage the growth of more tubers.
- When the plants reach about 6-8 inches tall, add another layer of soil, covering the stems and leaving the top leaves exposed.
- Continue adding soil as the plants grow, ensuring they are always well-covered. You may need to hill 2-3 times throughout the growing season.
8. Harvesting Potatoes:
Potatoes are usually ready for harvest in about 10-16 weeks, depending on the variety. You can check if they are ready by gently digging around the base of the plant to see if the tubers are large enough.
Here’s when to harvest:
- Early potatoes: These are usually ready around 10-12 weeks after planting.
- Maincrop potatoes: These may take 14-16 weeks to mature.
To harvest, simply tip the container onto its side and gently dig through the soil. Be careful not to damage the potatoes with your tools. Once harvested, you can let the potatoes cure in a cool, dark place for a few days before storing them.
9. Storing Your Potatoes:
After harvesting, let your potatoes dry out for a few days to allow the skins to harden. Store them in a cool, dark, and well-ventilated area like a pantry or cellar. Make sure they are in a paper bag or basket to avoid moisture buildup, which could lead to rotting.
Conclusion:
Growing potatoes in containers is a rewarding and convenient way to produce fresh, homegrown potatoes. By following these steps, from choosing the right container and potato variety to proper care and harvesting, you can enjoy a successful harvest even without a garden. Container-grown potatoes also make it easy to control soil conditions, pests, and space constraints, making them a great option for urban and small-space gardening.
Happy planting, and enjoy your homegrown potatoes!
